
To access the Shopping cart popup (panel) please access Settings › Header › Cart. Here you can customize both the Cart icon from the header and the panel and its contents.

Please know that some of the Cart button settings might be overridden by the Cart element from the header global section eg:

As a general rule, styling options lie in the “Cart (Header)” widget in Elementor, while the rest of the options in Settings › Header › Cart .
Frequently asked questions:
How to disable the cart panel and link directly to the Cart page.
Simply access Settings › Header › Cart › Cart Panel and enable the “Open “Cart page” instead of the panel (drawer)” option eg: screenshot .

How to prevent opening the cart panel when a product is added to cart.
Please edit the Settings › WooCommerce › Product Page › Summary Components › Add to cart (block) › After “Added To Cart” Behaviour option eg: screenshot .

You will be able to change the behaviour of the “Added to cart” functionality to:
- Open the cart panel when product was added
- Redirect to checkout page
- Open a popup with products carousel eg: screenshot .
- Do nothing.
If you want to redirect to the cart page, simply disable the Cart panel.
How to enable a list of recently viewed products
Access Settings › Header › Cart › Recently Viewed products and enable it eg: screenshot .

Display a global section inside the panel when there are not products inside it
When the cart is empty, you can pretty much show any content you want through a Generic Global section built with Elementor eg: screenshot .
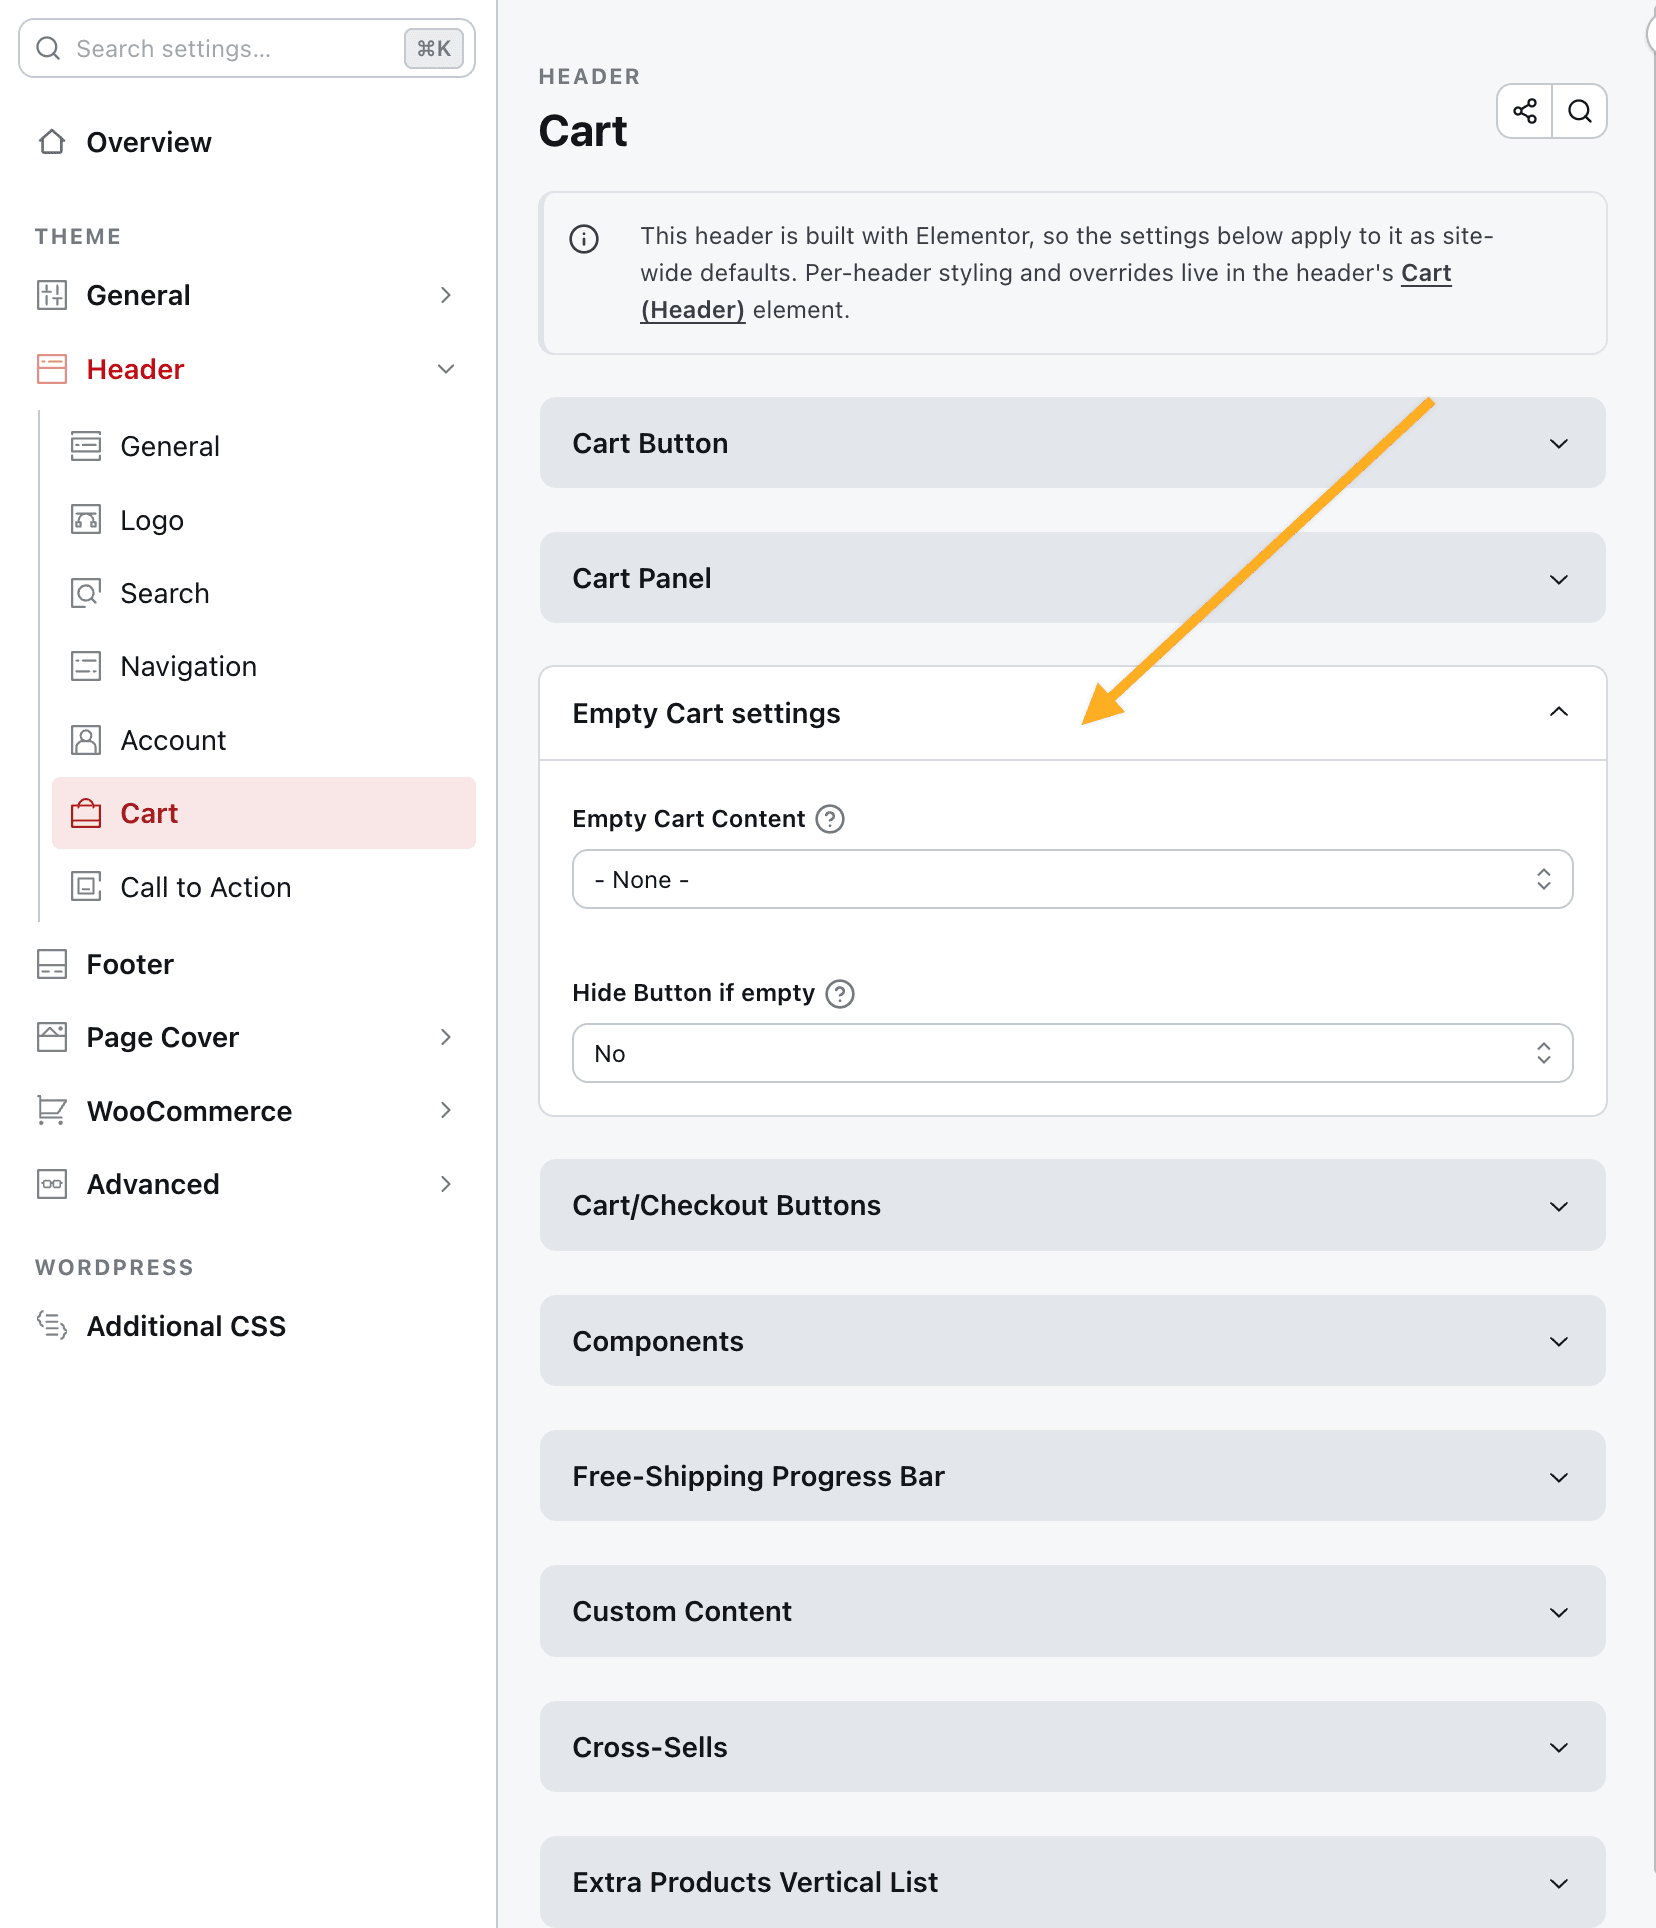
To select it from a list please access Settings › Header › Cart › Empty Cart and select it from the “Empty Cart Content” list eg: screenshot .
Show/hide quantity controls for the products inside the cart
You can enable quantity controls inside the cart panel eg: screenshot .

To do so please access Settings › Header › Cart › Components and turn on the “Show quantity controls ” option eg: screenshot .

Show a “free shipping” progress bar
Incentivise customers to buy more products in order to get no cost for shipping eg: screenshot .

To enable please head over to Settings › Header › Cart › Free-Shipping Progress Bar and enable the Show bar option eg: screenshot . If the option doesn’t show up, please make sure “Mini-Cart Free-Shipping Bar” is active in Rey > Modules manager.

You can also add it into the Cart page or change the text inside. To show the remaining amount difference, please use the {{diff}} variable.
Note: the bar might not show up if there’s no minimum amount set in the options, because it would fallback on WooCommerce’s shipping session data which in some cases first need to have an address added into the Cart (shipping calculator) or Checkout page.
Show or hide the coupon code form inside the panel
Offer your customers the ability to add coupon codes right inside the cart panel instead of the cart page or checkout page eg: screenshot .
Access Settings › Header › Cart › Components and turn on the “Show “Coupon Code” form” option eg: screenshot .
Display a carousel of cross-sells products
Showcase more related products to your customers by displaying a carousel of cross-sells products either on desktop or exclusively mobiles, eg: screenshot .

Please head over to Settings › Header › Cart › Cross-Sells and enable the Carousel option eg: screenshot.

Please make sure you link Cross-sell products inside each product item eg: screenshot .

Display a side popover with cross-sells products
For an even more impactful display of related products, you can also display a popup of products eg: screenshot .

To enable, please head over to Settings › Header › Cart › Cross-Sells and enable the “Side Bubble” option eg: screenshot .
Please make sure you link Cross-sell products inside each product item eg: screenshot .
Display a vertical list of products
For an even more complex layout, you can display different types of products, ex: screenshot .
To enable, please head over to Settings › Header › Cart › Extra Products Vertical List and enable the “Extra products vertical list” option eg: screenshot .
